This document shows how to set up a shared folder on a PC via network sharing for the FHV7 Vision controller.
Step1: PC Configuration
Create New Folder under Documents.
Name this ‘OMRON FHV’ to match other vision software folders.
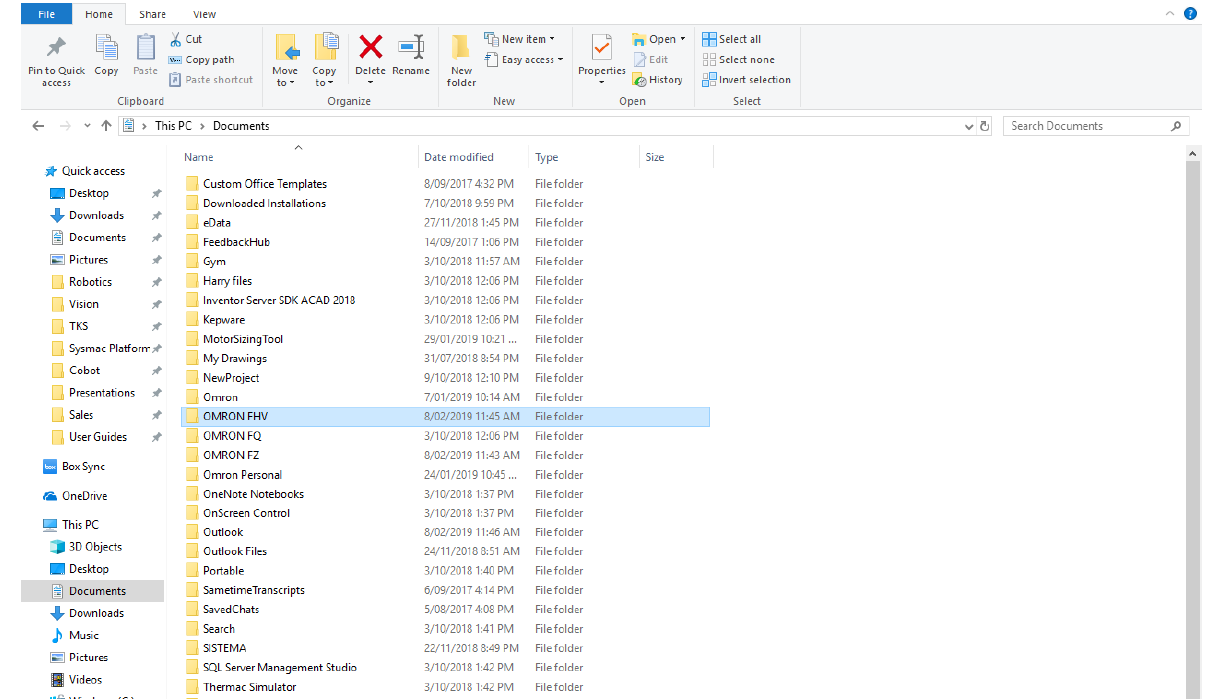
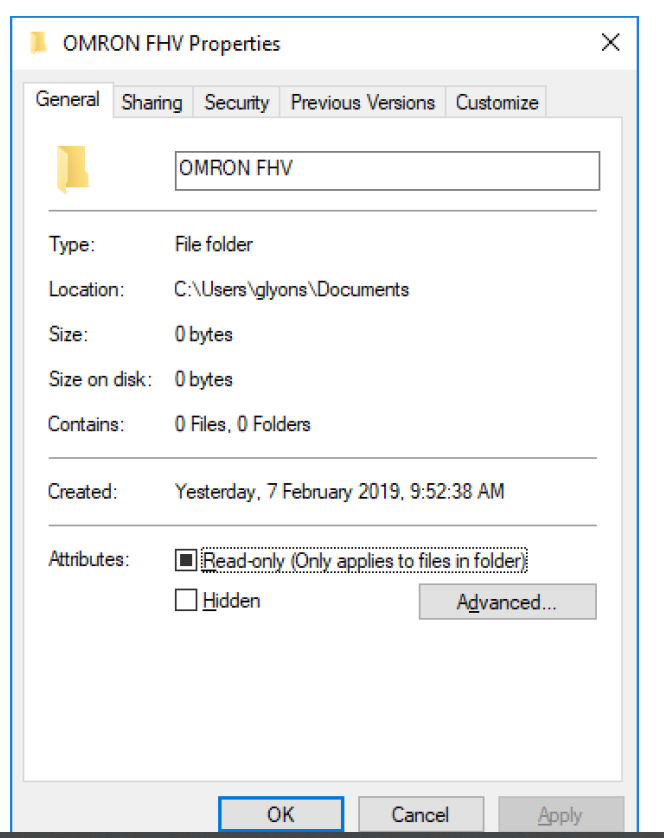
Right click new folder and select Properties
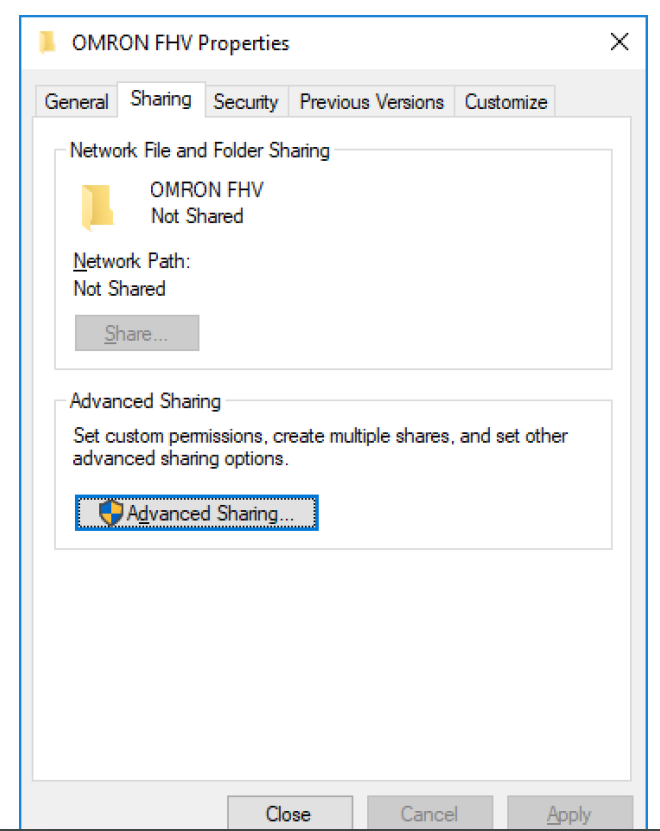
Go to the ‘Sharing’ tab:
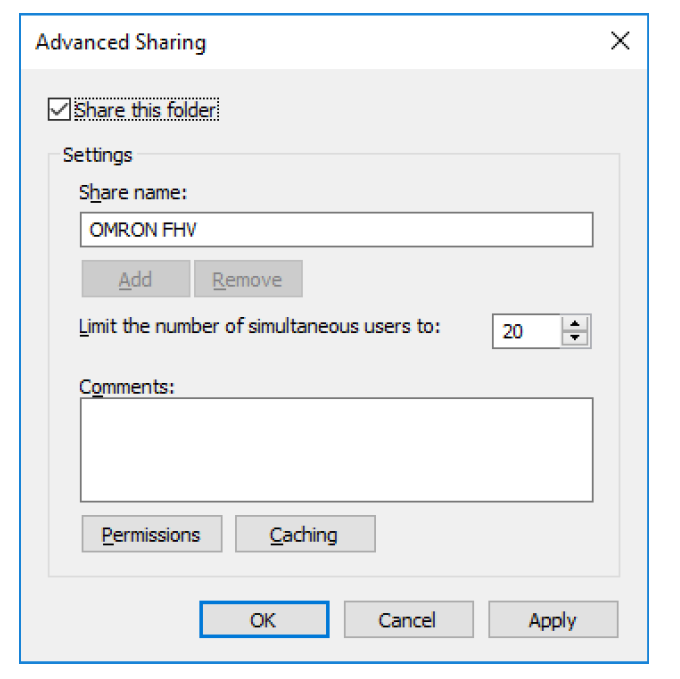
Select ‘Advanced Sharing’:
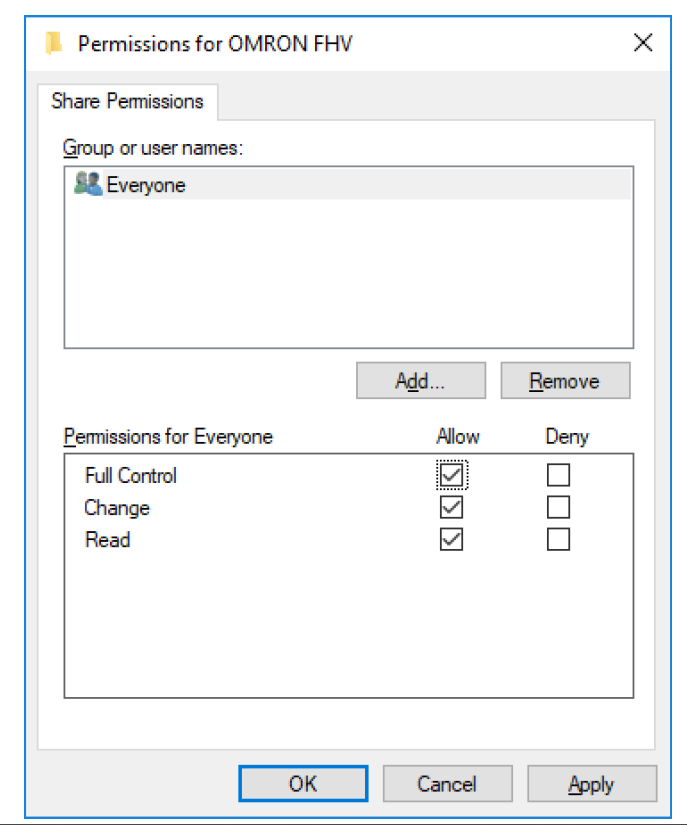
Select ‘Share this folder’ and then select ‘Permissions’
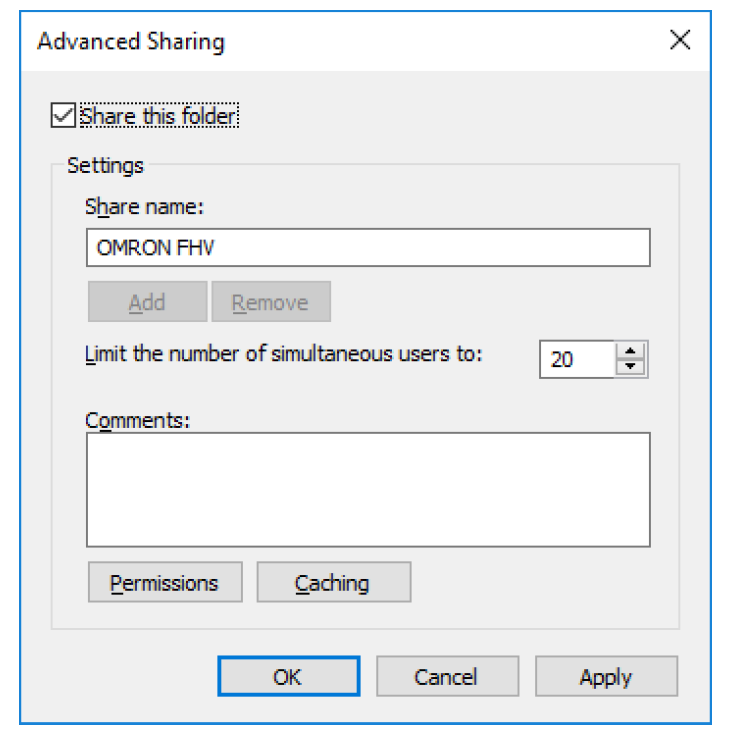
Select the tick-box for ‘Full Control’ = ‘Allow’.
Click ‘Apply’
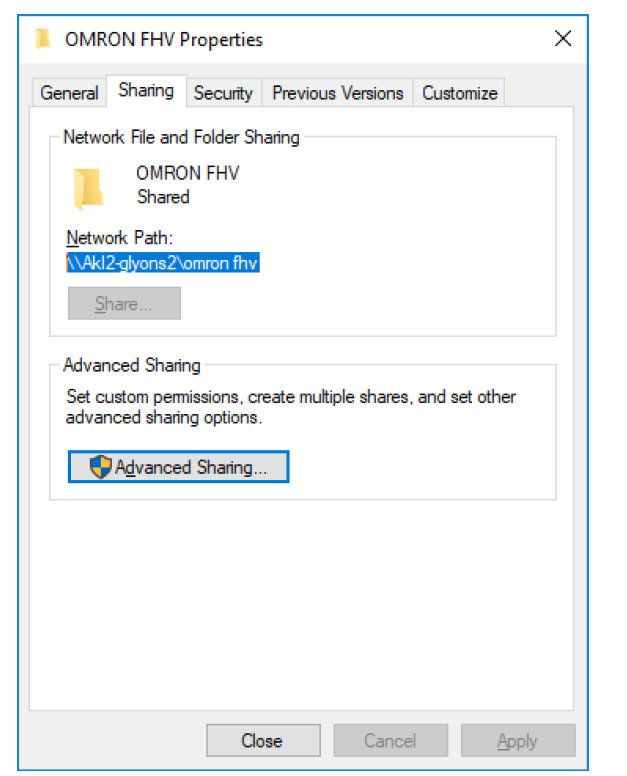
Click ‘Apply’ again on remaining window.
Once this is done, a Network Path will be shown in the remaining window.
Copy this to your clipboard.
FHV7 Configuration
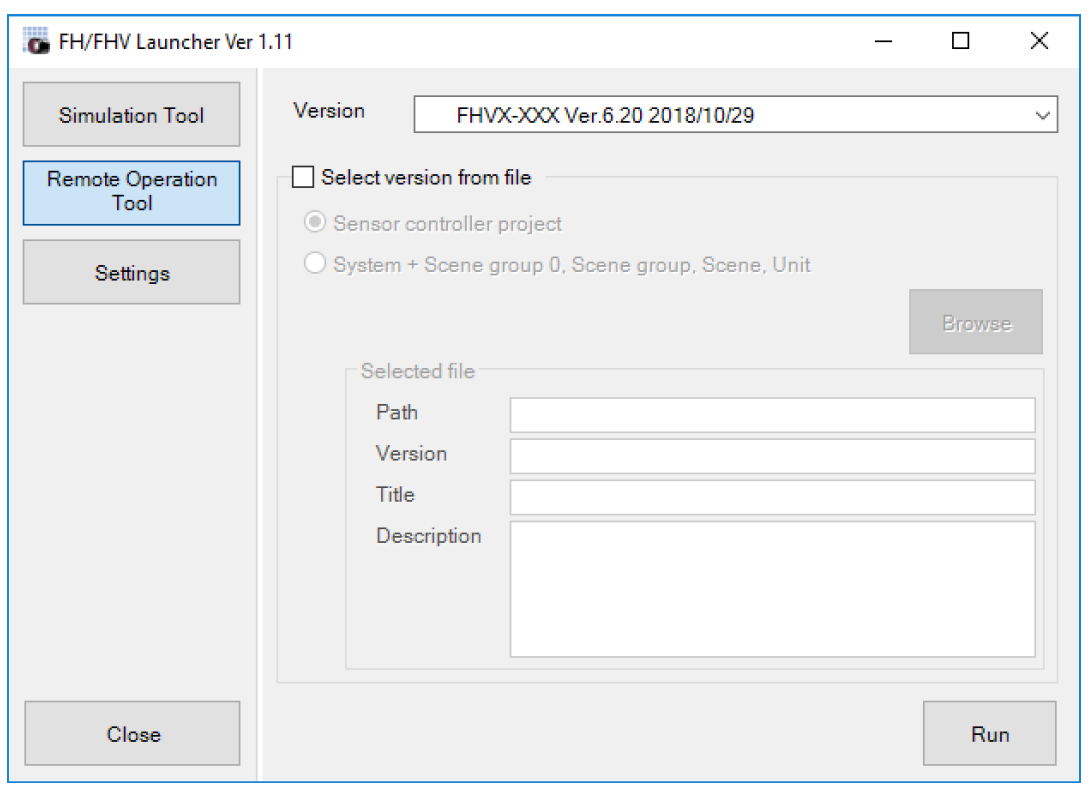
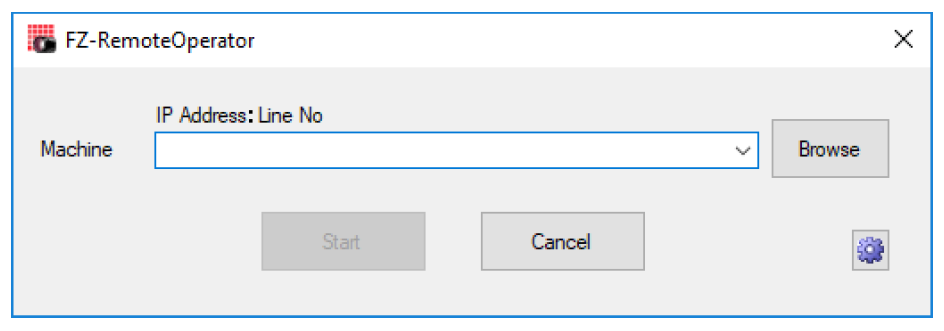
Open the ‘FH_FHV Launcher’ and select ‘Remote Operation Tool’, selecting the appropriate version.
Then click ‘Run’
Select ‘Browse’
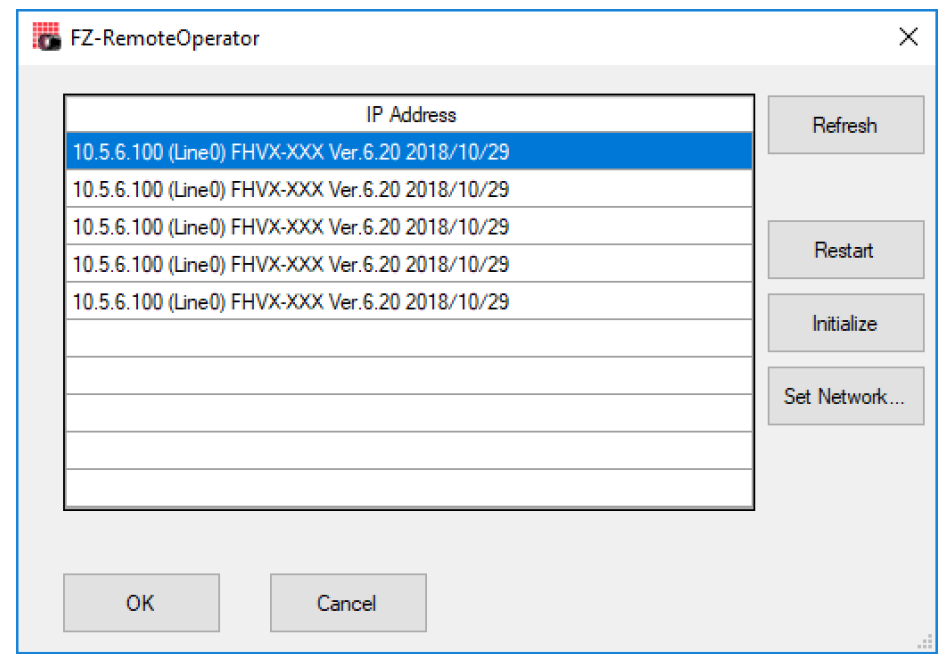
If correct IP range is set on PC, then you will see the FHV. Select a version and click ‘OK’.
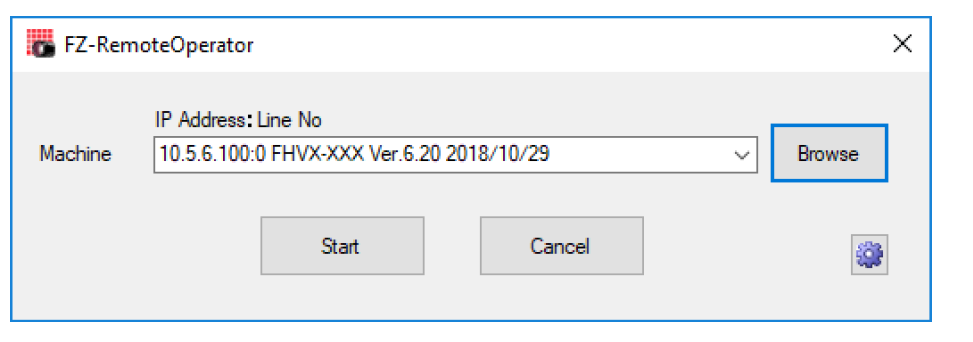
Then select ‘Start’:
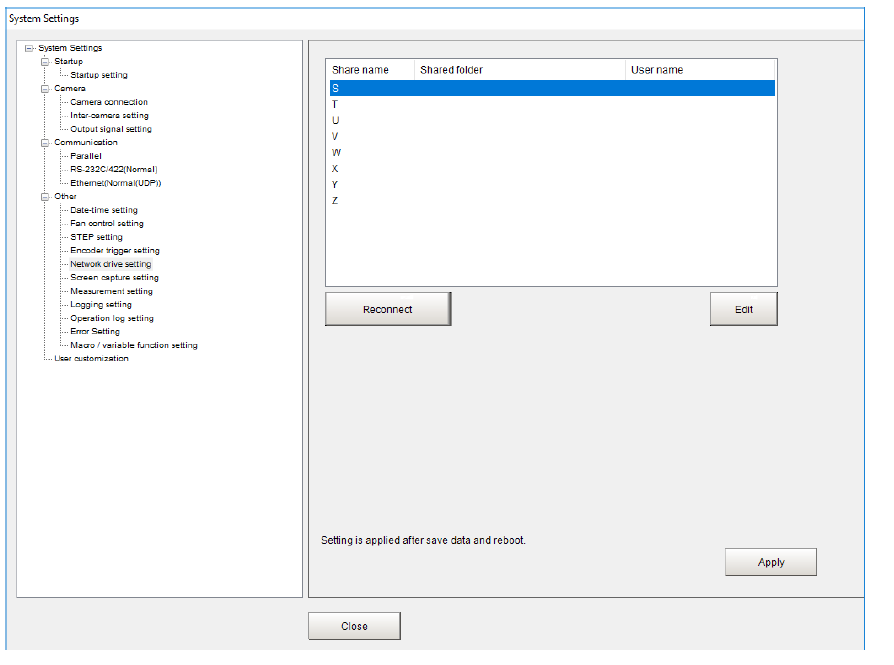
Select ‘Tools’→’System Settings’:
Select ‘Other’→’Network Drive Setting’. Highlight ‘S’ and select ‘Edit’:
Paste link from clipboard to ‘Shared Folder’ and enter Username and Password of Windows PC and select ‘OK’:
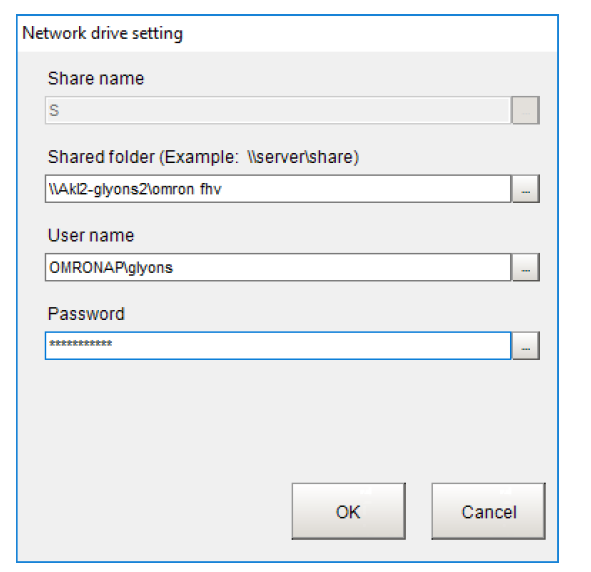
Click ‘Apply’ and ‘Close’:

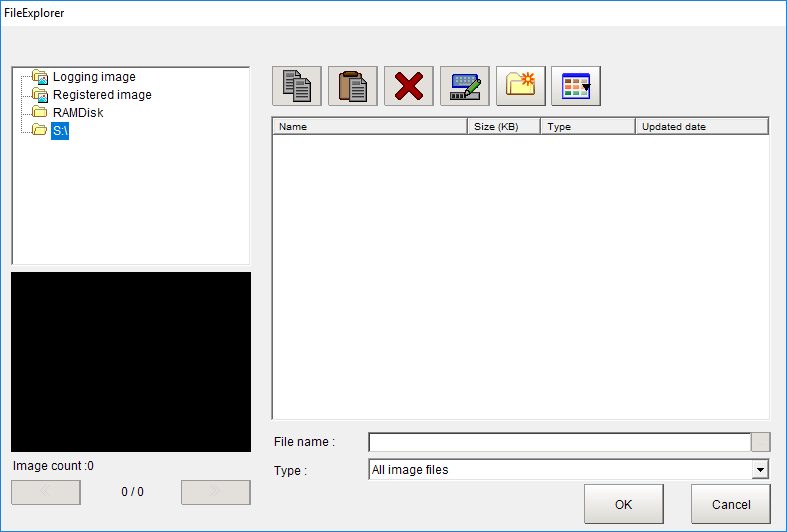
Perform a Data Save and restart the FHV. Upon restart the shared folder will be active and you can save and log images to this directory rather than on the SD card.
Done